Setting up Azure SQL Server with Infer
Whitelisting Infer with Azure
Login to the Azure portal
Type in the name of your SQL Database in the search box at the top and select it from the drop down.

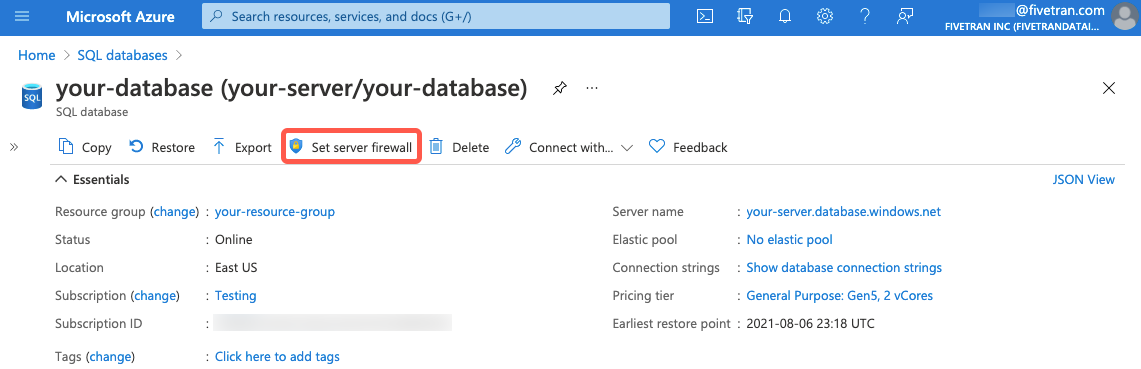
On the page for the SQL Server click “Set server Firewall” in the top menu on the “Overview” tab.
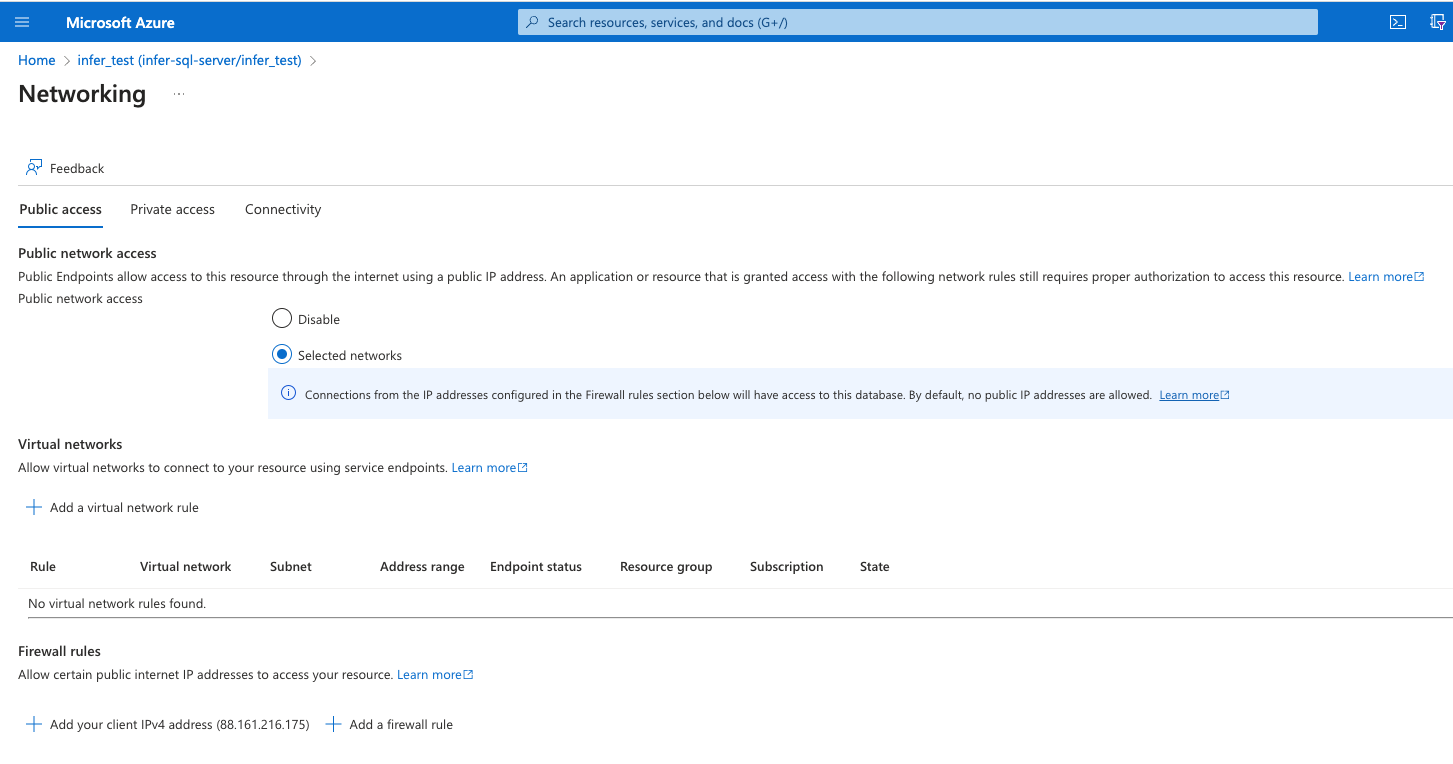
This will open up the “Networking” page for the server. Here click “Add a firewall rule”.
Type in the following in the “Add a firewall rule” dialog.
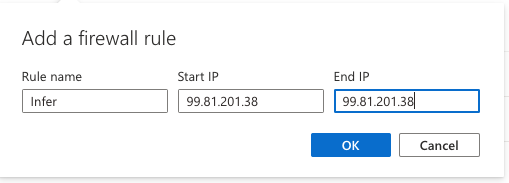
Click “OK”. You should now see the following in the list of IPs below.
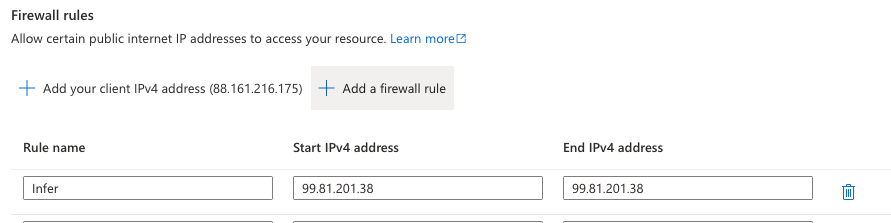
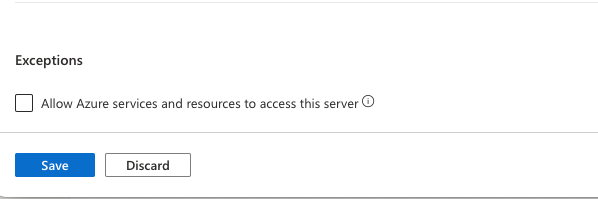
Now click “Save” at the bottom of the page.
Got back to the SQL Database page and note down the “Server name” - you need this for the connection setup.

Create a new Azure User for Infer
We recommend you create a new user specific to connecting to Infer.
To do this first open up an SQL IDE connected to the your Azure SQL Database - you can do this by going to the Overview page of the database and clicking “Query Editor” in the left-hand menu.

Now in the IDE run the follow command
USE [<database>];
CREATE USER <username> WITH PASSWORD = '<password>';
Where you set the username to something related to Infer (for example infer_app) and the <password> as you with but something suitably secure. Remember to note this down, preferably in your password manager - you need this for the setup.
The <database> is the name of your database.
Next step is to grant the new user SELECT permissions. To do this run
GRANT SELECT on DATABASE::[<database>] to <username>;
Connecting Infer to Azure
Click “Add Data Source” and select Azure from the dialog.
Now fill out the data source connection details:
- Host - input the “Server Name” that you noted down above
- Port - leave it as 1433. Unless you have done something special this is the default
- Database - input the name of your SQL Database
- Username - the name of the user you created above, eg infer_app
- Password - the password for the user you created above